Create courses and free preview lessons
Build a course with chapters and lessons, publish it, let visitors try a lesson for free, and choose the order of your courses.
Create the course
Go to Classroom and tap Create course.
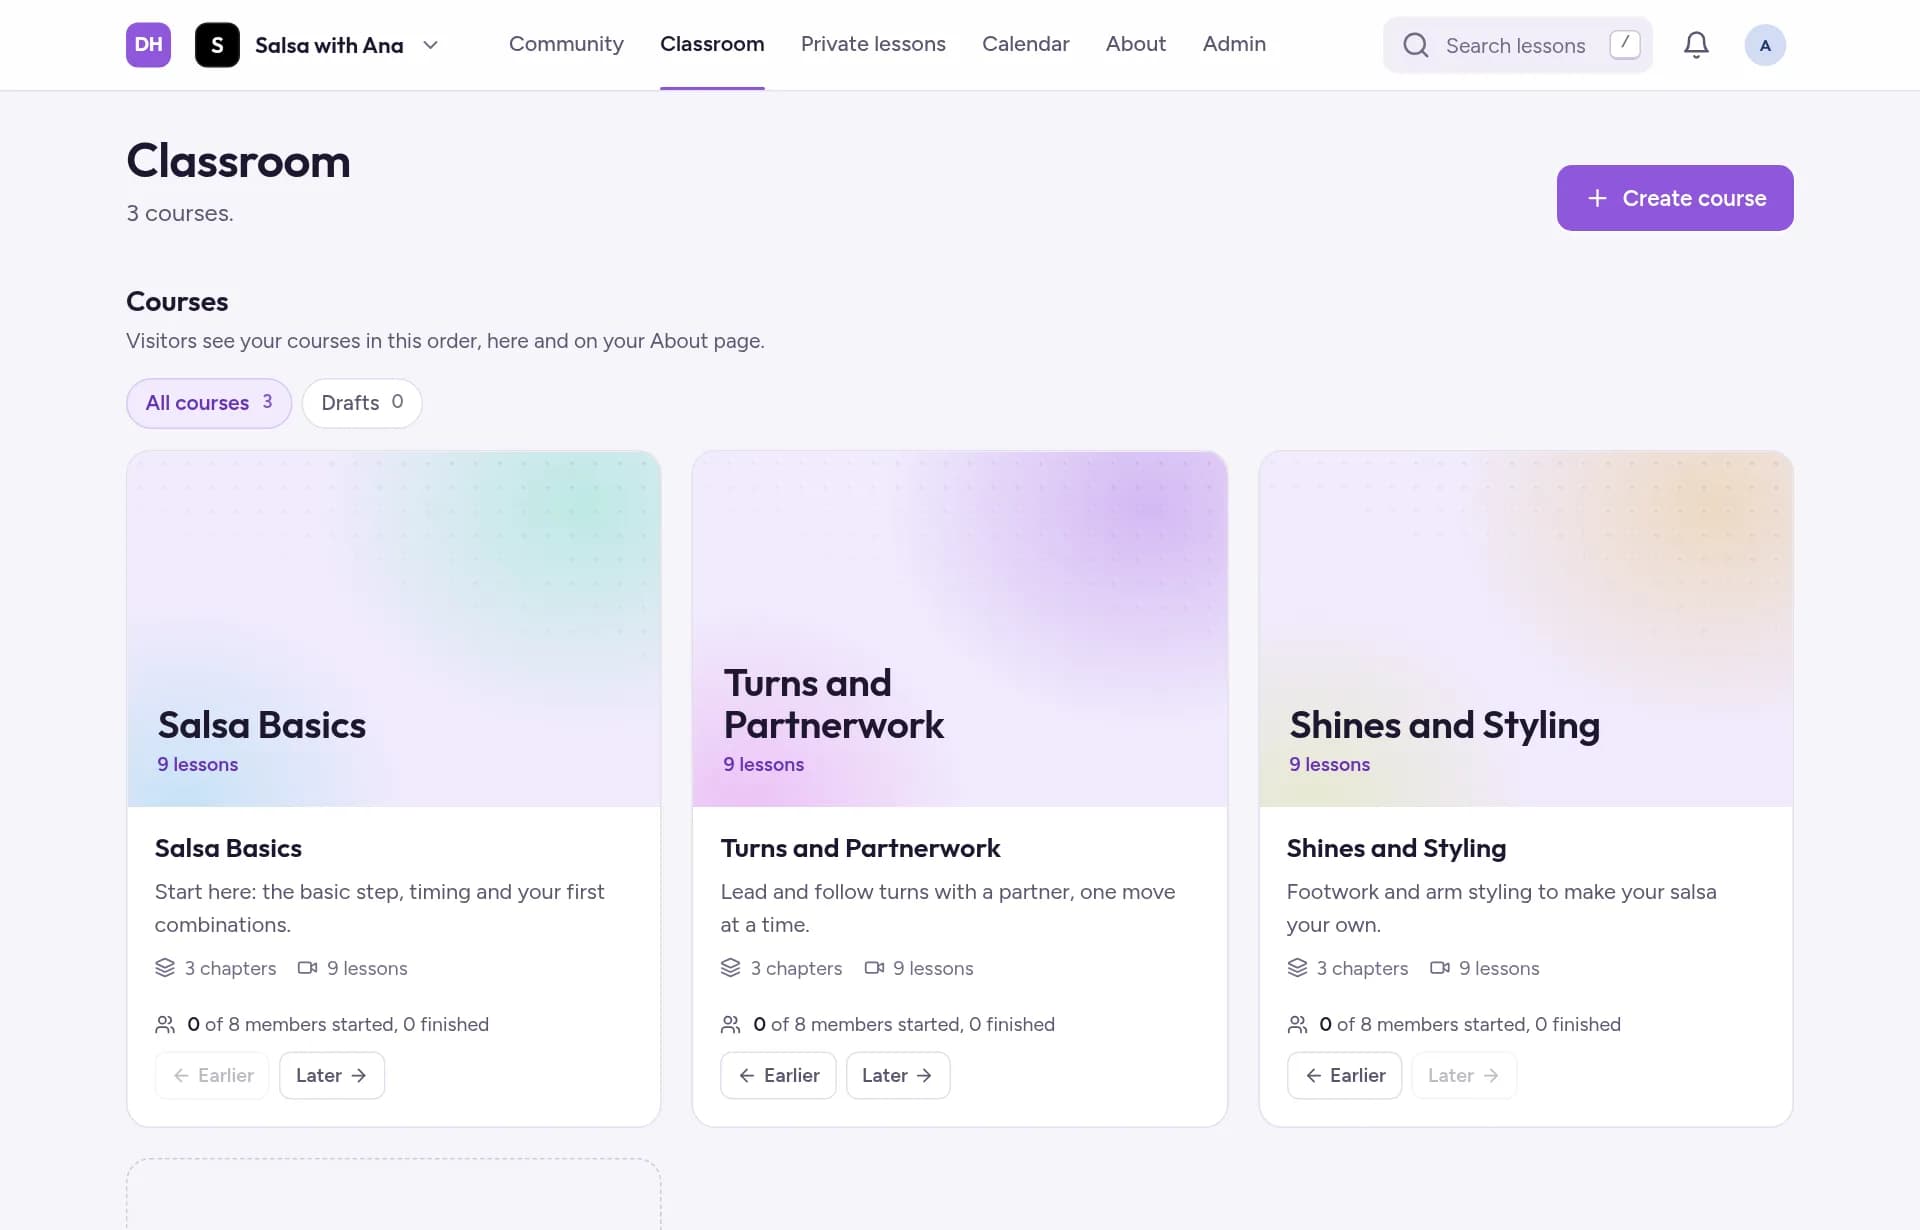
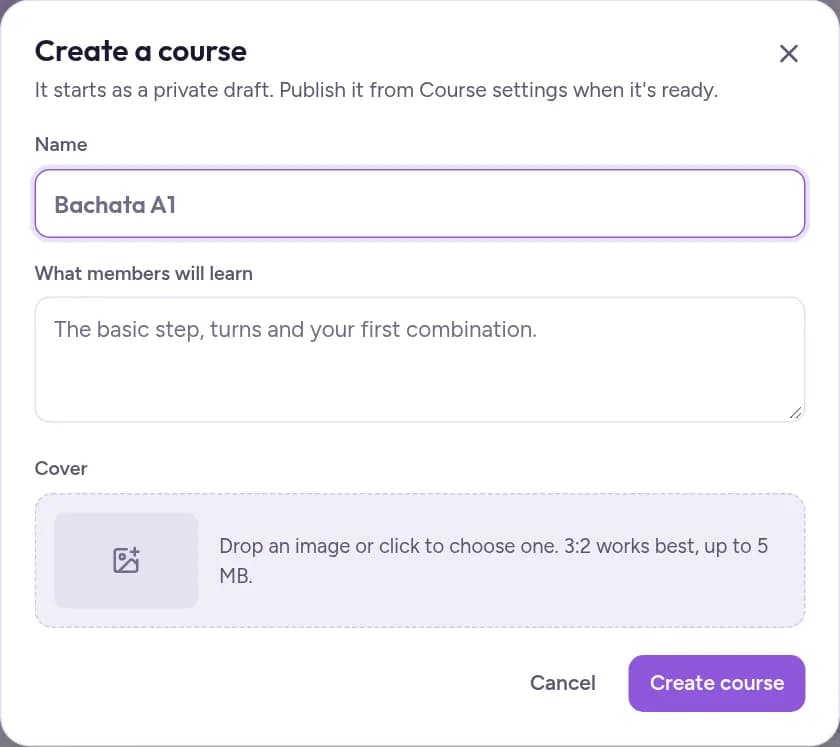
Give it a Name, say What members will learn, and create it. A new course starts as a private draft: only you can see it until you publish it.
Add chapters and lessons
Open the course and tap Edit content.
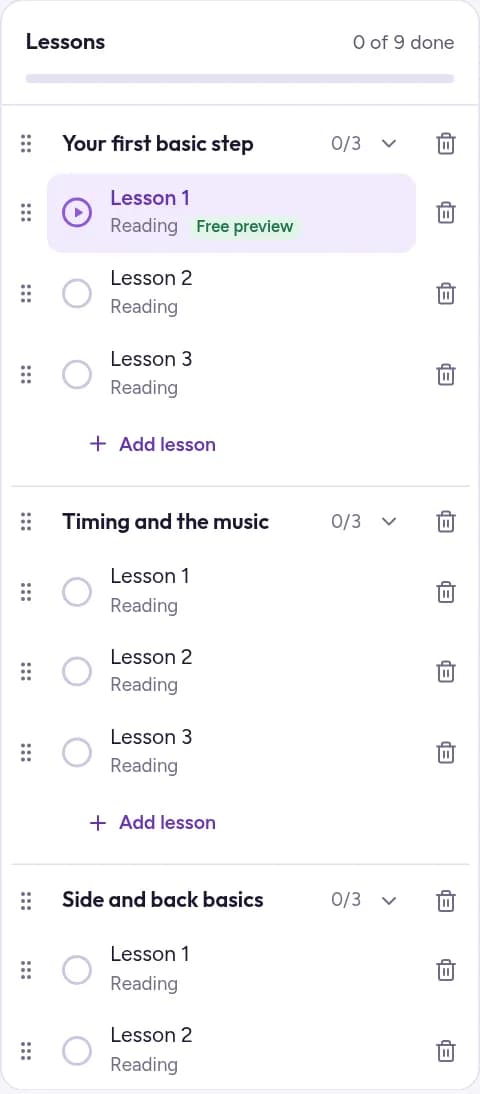
Open the list of lessons: tap the Lessons button under the course title (on a wide screen the list is always on the left). Use Add chapter and Add lesson to build the course.
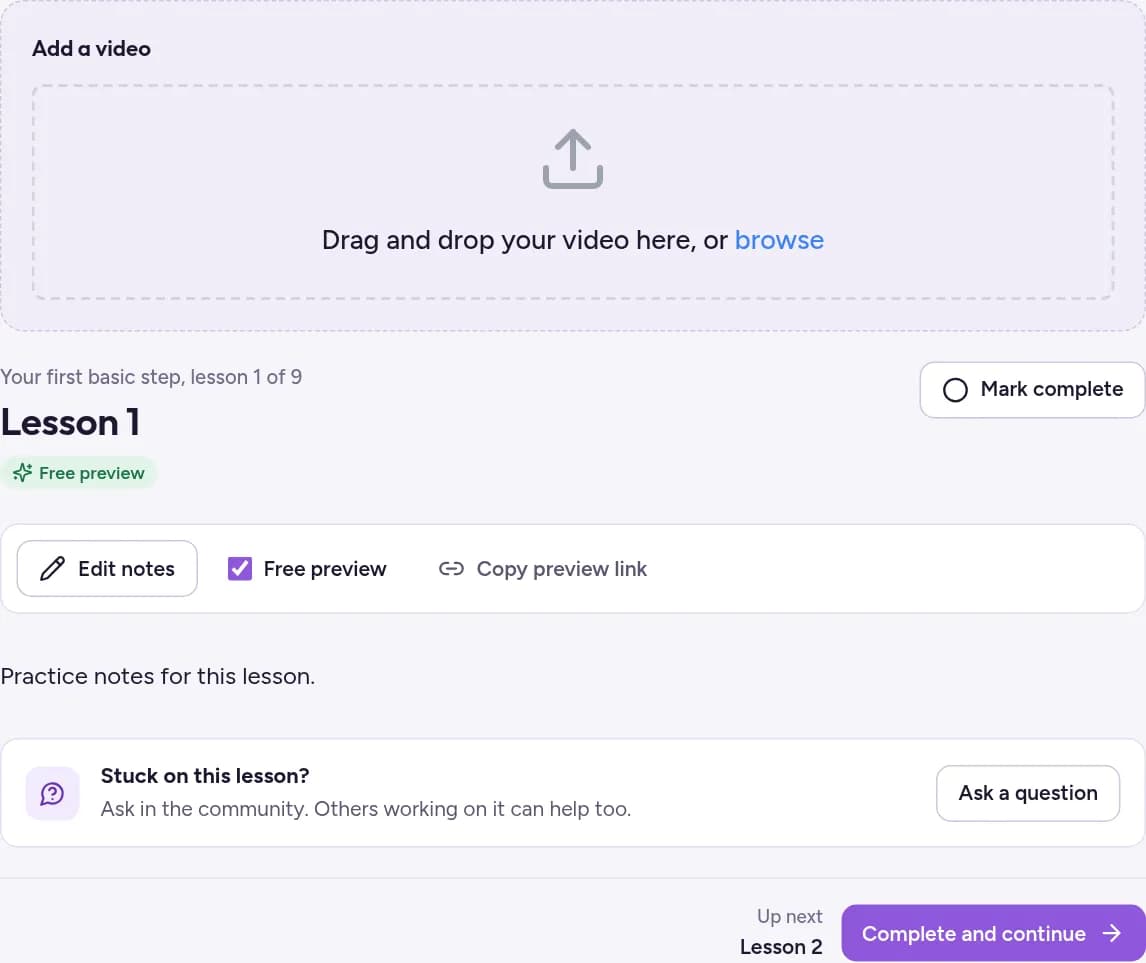
In each lesson, add a video under Add a video (tap browse to pick one from your phone or computer). For text, tap Add notes (Edit notes once the lesson has some), write, and tap Save notes. A video takes a few minutes to process after it uploads.
Tap Done editing when you're finished.
Publish the course
In the course, tap Course settings. Under Who can see it, choose Published, then tap Save changes. Every member now finds it in the Classroom.
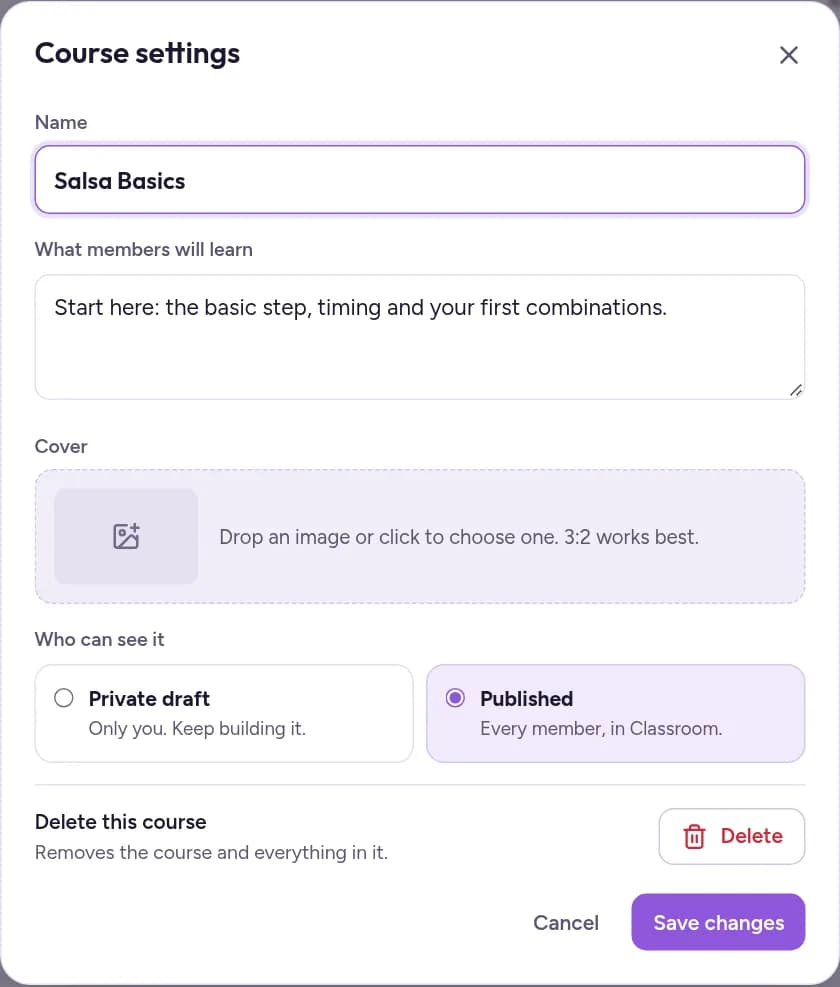
You can add a Cover image in the same place. A 3:2 image works best.
Let visitors try a lesson for free
A free preview lesson can be watched by anyone, even before they join. It's the best way to show how you teach.
In Edit content, open the lesson and tick Free preview.
Your About page now shows a Watch free button for that course. Use Copy preview link to share the lesson on Instagram or WhatsApp.
Choose the order of your courses
In Classroom, use Earlier and Later on each course to move it. Members see your courses in this order in the Classroom, and visitors see the same order on your About page.
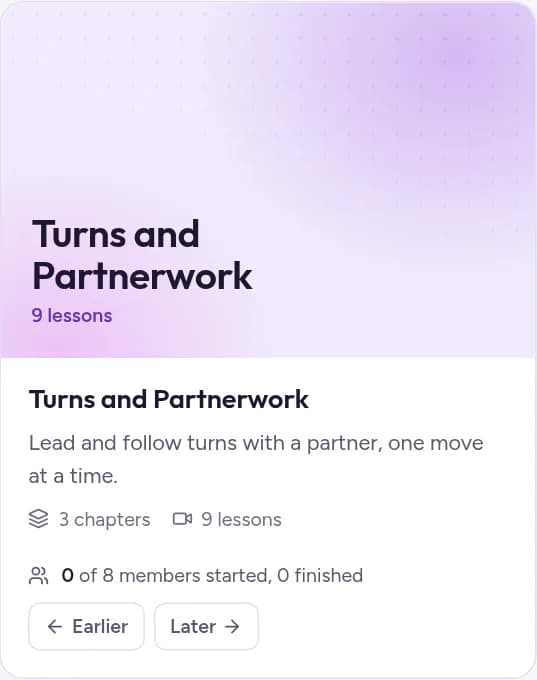
Until you move a course, the newest one comes first. Once you've set an order, new courses are added at the end.